Why You'll Love It
- - Double layer of crunch stays crisp
- - Bright orange flavor balances sweet and tangy
- - Simple ingredients, quick weeknight prep
- - Versatile for family or guests
*"The crunch lasts longer than any restaurant I've tried—pure comfort on a plate!"*
Essential Ingredient Guide
- Chicken breast: Choose fresh, skinless breasts; pat dry for an even coating.
- Fresh oranges: Juice and zest give a natural bright flavor; avoid bottled juice.
- Panko breadcrumbs: Provides the first crunchy barrier; toast lightly for extra aroma.
- Ginger and garlic: Adds warm spice; mince finely to distribute evenly.
- Rice vinegar: A touch of acidity lifts the glaze and balances sweetness.
- Honey: Natural sweetener that caramelizes lightly for a glossy finish.
Complete Cooking Process
-
Ingredient Readiness:
Dice chicken into bite‑size pieces, zest and juice oranges, and set up a three‑part dredge station.
-
Flavor Development:
Sear the coated chicken until golden, then deglaze with orange juice and honey, allowing the sauce to reduce.
-
Texture Control:
Add a second coating of toasted panko just before finishing to preserve crispness.
-
Finishing Touches:
Stir in a splash of vinegar and a pinch of chili flakes for brightness and heat.
-
Serving Timing:
Serve immediately over steamed rice so the crunch remains intact.
- Keep chicken pieces at room temperature for 10 minutes before coating.
- Use a hot skillet, not overcrowding, to ensure each piece browns evenly.
- Dry the orange zest thoroughly to avoid soggy crumbs.
- Taste the glaze before adding chicken; adjust sweetness with a dash more honey.
Pro Tips
Well, these small adjustments make a big difference. I find that a quick pause to taste the glaze saves you from a surprise too sour or too sweet. Also, let the final sauce sit for a minute; it thickens just enough to cling without making the crumbs soggy. Wow, it really turns a simple dinner into something special.
The essence of the dish:
A fun fact or historical angle:
Flavor or sensory focus:
You Must Know
- Don’t skip the final panko dusting
- Control heat to avoid burning the honey
- Serve immediately for peak crunch
Frequently Asked Questions
→ Can I use thighs instead of breasts?
Yes, boneless thighs work well; just adjust cooking time by a couple of minutes.
→ Is there a gluten‑free breadcrumb option?
Swap panko for gluten‑free rice crumbs or crushed cornflakes.
→ How do I keep the coating from getting soggy?
Add the final breadcrumb dust right before serving and avoid over‑saucing.
→ Can I make this ahead of time?
Prep the chicken and coat it ahead, then refrigerate; finish cooking and glaze when ready.
→ What side dishes pair best?
Steamed jasmine rice or a light cucumber salad complement the flavors nicely.
→ Is this recipe suitable for kids?
Absolutely; the mild spice can be reduced or omitted for younger palates.
Chef's Tips
If the sauce thickens too quickly, add a splash of water.,For extra crunch, toss the chicken with a second light coating of panko right before serving.,Adjust sweetness by tasting the glaze before adding the final chicken.
Nutrition Facts
per serving
420
Calories
35g
Protein
35g
Carbs
15g
Fat
Taste Profile
Bright citrus with a satisfying crunch
Ingredient Substitutions
Don't have an ingredient? Try these alternatives
Adjust cooking time for tofu—press well first.
Slightly sweeter, reduce honey if using.
Recipe Variations
Try these delicious twists on the original
Spicy Version
Add extra red pepper flakes and a dash of sriracha for a bold kick.
Mediterranean Style
Mix toasted pine nuts into the final breadcrumb layer and finish with a squeeze of lemon.
Common Mistakes to Avoid
Learn from others' mistakes for perfect results
- Overcrowding the pan, which steams instead of crisps.
- Adding the final panko too early, causing sogginess.
- Cooking sauce too long, making it overly thick.
Meal Prep & Storage
Make Ahead Tips
You can coat and chill the chicken pieces for up to 12 hours; keep the coating separate from the glaze until ready to cook.
Leftover Ideas
Reheat gently in a skillet with a splash of orange juice; add fresh panko at the end to revive the crunch.
Perfect Pairings
Serve this with...
Cooking Timeline
Prep all ingredients – dice chicken, zest and juice oranges, set up dredging stations.
Coat chicken in flour, egg, then panko; let rest briefly.
Sear chicken until golden, remove and set aside.
Create sauce by simmering orange juice, zest, honey, soy sauce, vinegar, ginger, and garlic.
Return chicken to pan, toss, add final panko dusting, and serve.
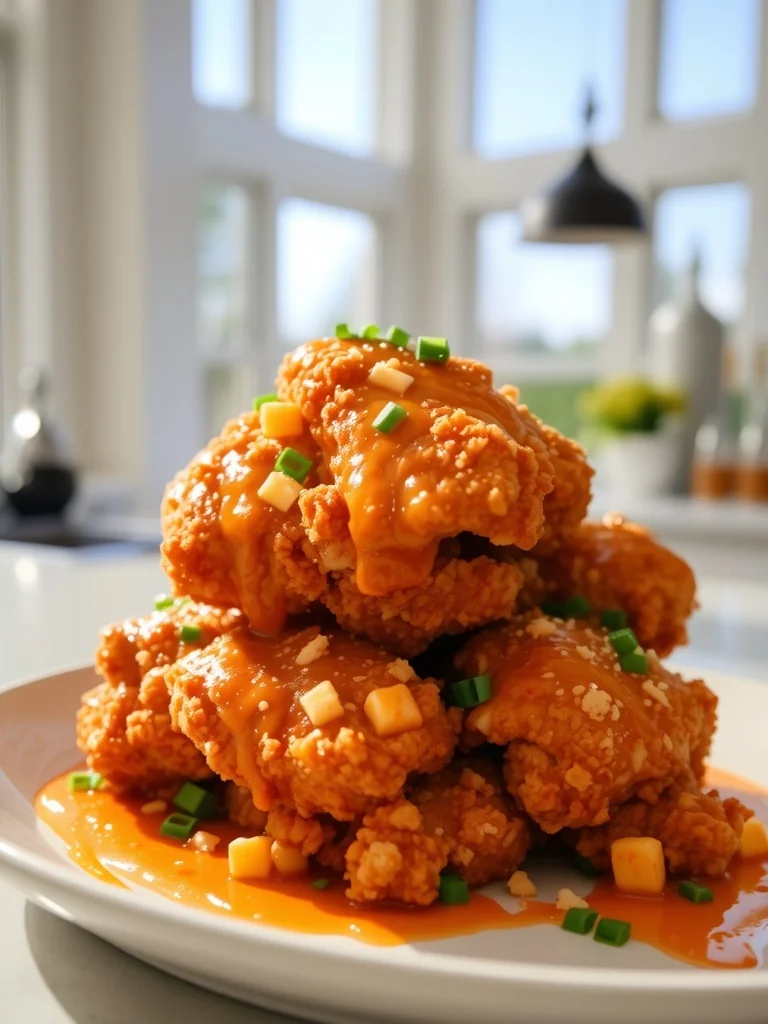
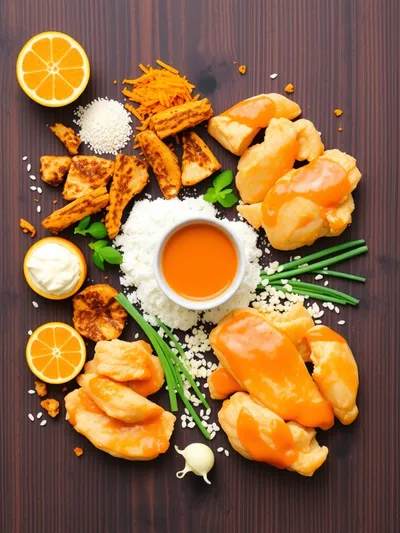
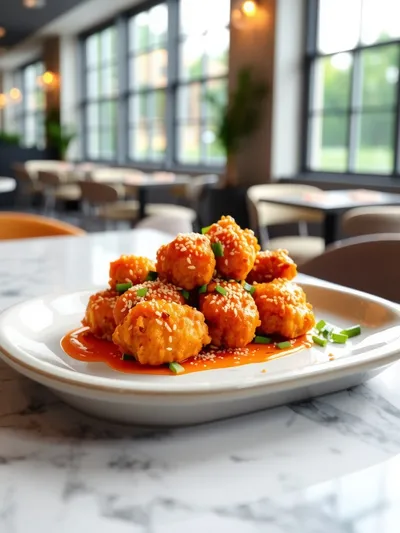
Double Crunch Orange Chicken
Try this Double Crunch Orange Chicken—crispy, tangy, and full of flavor for an unforgettable weeknight dinner. The coating stays crunchy while the sauce clings to every bite.
Timing
Prep Time
20 Minutes
Cook Time
25 Minutes
Total Time
45 Minutes
Recipe Details
Ingredients
Main Ingredients
- 01 1.5 lbs chicken breast, cut into bite‑size pieces
- 02 1 cup panko breadcrumbs
- 03 1/2 cup all‑purpose flour
- 04 2 large eggs, beaten
For the Sauce
- 01 1/2 cup fresh orange juice
- 02 2 tbsp orange zest
- 03 3 tbsp honey
- 04 2 tbsp soy sauce
- 05 1 tbsp rice vinegar
- 06 1 tsp minced ginger
- 07 1 tsp minced garlic
- 08 1/4 tsp red pepper flakes (optional)
Instructions
Pat the chicken dry, then coat each piece in flour, dip in beaten egg, and roll in panko; set aside.
Heat a large skillet over medium‑high heat, add oil, and fry the coated chicken until golden, about 3‑4 minutes per side; remove and keep warm.
In the same pan, add orange juice, zest, honey, soy sauce, vinegar, ginger, garlic, and red pepper flakes; simmer until thickened, about 5 minutes.
Return the chicken to the pan, toss to coat, then sprinkle a fresh handful of toasted panko over the top; stir gently just to combine.
Serve immediately over steamed rice, garnished with sliced green onions and a drizzle of extra orange glaze if desired.
Notes & Tips
- 1 If the sauce thickens too quickly, add a splash of water.
- 2 For extra crunch, toss the chicken with a second light coating of panko right before serving.
- 3 Adjust sweetness by tasting the glaze before adding the final chicken.
Tools You'll Need
-
Large skillet
-
Mixing bowls
-
Zester or microplane
-
Measuring cups and spoons
-
Tongs
Must-Know Tips
- Don't overcrowd the pan, Cook in batches to keep each piece crisp.
- Let chicken rest a minute after frying, Allows juices to settle.
- Taste the glaze, Adjust seasoning before final toss.
Professional Secrets
- Room temperature chicken cooks evenly, preventing a cold center.
- High heat for searing creates a flavorful crust.
- Deglaze with orange juice, Captures all the caramelized bits.

Recipe by
Emily CarterEmily Carter is known for transforming classic chicken dishes into comforting baked creations. She specializes in oven-roasted chicken meals, savory c ...
Get Delicious Recipes Weekly
Join 25,000+ home cooks getting our best recipes straight to their inbox.
Free forever • No spam • Unsubscribe anytime