Why You'll Love It
- - Soft, melt‑in‑the‑mouth texture
- - Easy to make with pantry staples
- - Versatile jam fillings for every mood
- - Perfect for gifting or a quiet snack
*"These cookies are a hug on a plate—soft, chocolatey, and just the right amount of jam!"*
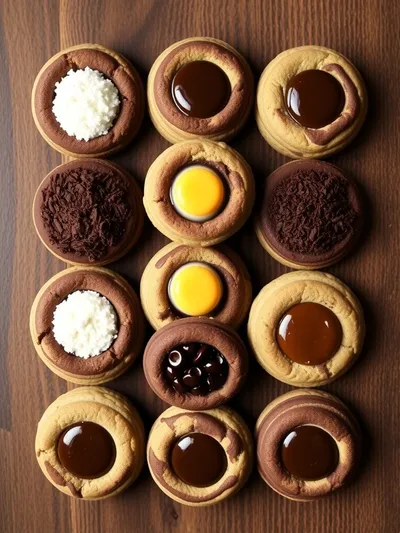
Essential Ingredient Guide
- Unsweetened cocoa powder: Choose a deep, rich cocoa for maximal flavor; sift it to avoid lumps.
- All‑purpose flour: A light flour keeps the cookie tender; measure by spoon‑and‑level.
- Fruit jam (strawberry or raspberry): A sweet‑tart jam balances the cocoa; you can also try apricot for a different twist.
- Vanilla extract: A splash adds warmth; use pure vanilla for the best aroma.
- Lemon zest: Just a pinch brightens the chocolate and pairs nicely with the jam.
- Brown sugar: Adds a subtle caramel note that deepens the cookie’s flavor.
Complete Cooking Process
-
Ingredient Readiness:
Sift the flour and cocoa together, soften the butter, and have the jam at room temperature so it spreads easily.
-
Flavor Development:
Cream butter and sugars until light, then add vanilla and zest; this stage builds a fragrant base.
-
Texture Control:
Mix the dry ingredients just until incorporated; over‑mixing can make the cookie dense.
-
Finishing Touches:
Press a small well in each cookie and fill gently with jam, then sprinkle a pinch of sea salt for contrast.
-
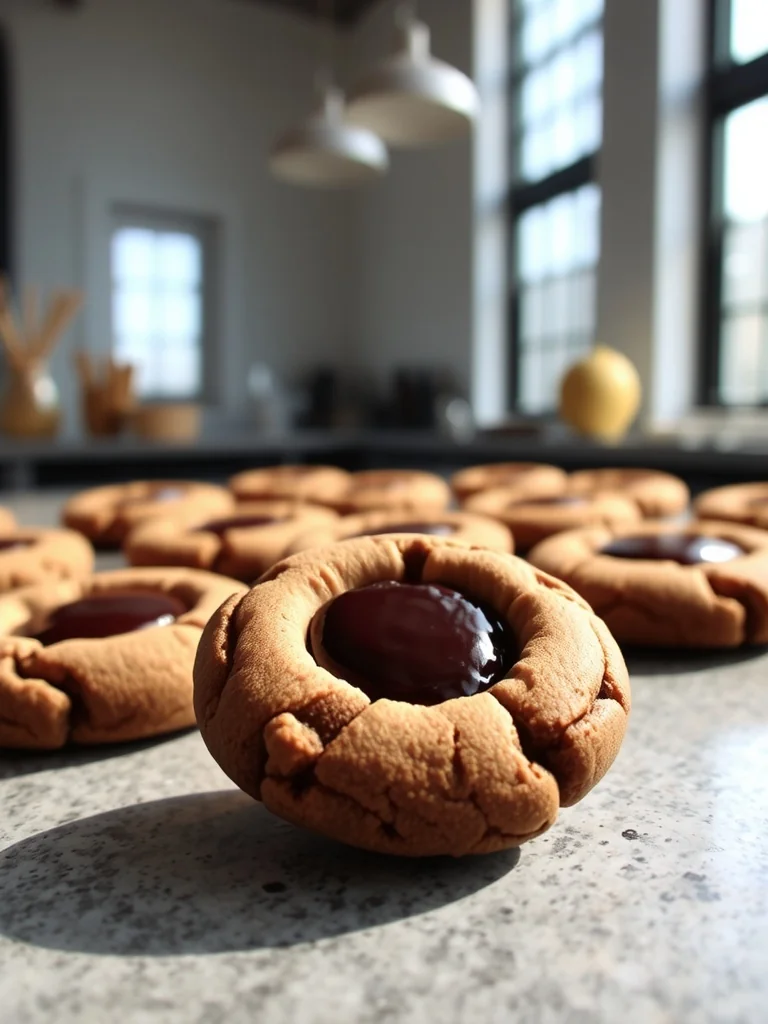
Serving Timing:
Serve the cookies while still warm from the oven, when the centers are soft and the edges are just set.
- Chill the dough for 30 minutes to prevent spreading.
- Use a small ice‑cream scoop for uniform cookie sizes.
- If the jam spreads too much, chill the cookies for a minute before filling.
- Store in an airtight tin with a slice of bread to keep them soft.
Pro Tips
Well, after those little tricks, you’ll notice how the cookies hold their shape and stay tender longer. I’ve found that a quiet moment letting the dough rest makes the whole process feel less hurried, and the results are oh‑so‑satisfying. So, take a breath, enjoy the aroma, and let the kitchen be your gentle sanctuary.
The essence of the dish:
A fun fact or historical angle:
Flavor or sensory focus:
You Must Know
- Do not over‑bake; they should stay soft.
- Room‑temperature jam spreads more evenly.
- A light dusting of cocoa on top adds visual appeal.
Frequently Asked Questions
→ Can I use a different jam flavor?
Absolutely—you can swap strawberry for apricot, raspberry for fig, or even a low‑sugar preserve if you prefer less sweetness.
→ How do I keep the cookies soft?
Store them in an airtight container with a slice of bread; the moisture from the bread helps maintain a tender crumb.
→ Do I need a special cookie press?
No special tools are required; a small spoon or the back of a teaspoon works just fine for creating the thumbprint.
→ Can I freeze the dough?
Yes, shape the dough into balls, freeze on a tray, then transfer to a zip‑lock bag; bake from frozen, adding an extra minute.
→ What if the jam leaks?
Make sure the dough is firm around the edge of the well, and don’t over‑fill; a teaspoon is usually perfect.
→ Is there a gluten‑free version?
Swap all‑purpose flour for a 1‑to‑1 gluten‑free flour blend; the texture remains delightfully soft.
Chef's Tips
If the jam is very thick, warm it slightly for easier spreading.,For a richer flavor, add a tablespoon of espresso powder to the dry mix.,These cookies can be frozen after baking; re‑heat briefly before serving.
Nutrition Facts
per serving
180
Calories
3g
Protein
25g
Carbs
8g
Fat
Taste Profile
Rich chocolate with a bright jam finish
Ingredient Substitutions
Don't have an ingredient? Try these alternatives
Margarine works but may change flavor; coconut oil adds a subtle tropical note.
Fresh compote needs a brief cook-down to thicken.
Recipe Variations
Try these delicious twists on the original
Spicy Version
Add a pinch of cinnamon and a dash of chili powder to the dough for a warm kick.
Mediterranean Style
Swap jam for a mixture of chopped figs and a drizzle of honey before baking.
Common Mistakes to Avoid
Learn from others' mistakes for perfect results
- Over‑mixing the dough, leading to dense cookies.
- Filling the thumbprint too heavily, causing jam to overflow.
- Baking too long; the centers should stay soft.
Meal Prep & Storage
Make Ahead Tips
The dough can be prepared up to two days ahead and kept refrigerated; shape and bake when ready.
Leftover Ideas
Reheat gently in a 300°F oven for 5 minutes to revive softness.
Perfect Pairings
Serve this with...
Cooking Timeline
Gather and measure all ingredients; preheat oven.
Cream butter and sugar, add egg, vanilla, zest, then combine dry ingredients.
Chill dough, roll into balls, create thumbprints, fill with jam.
Bake cookies, cool on sheet, then transfer to rack.
Enjoy a warm cookie with tea or store for later.
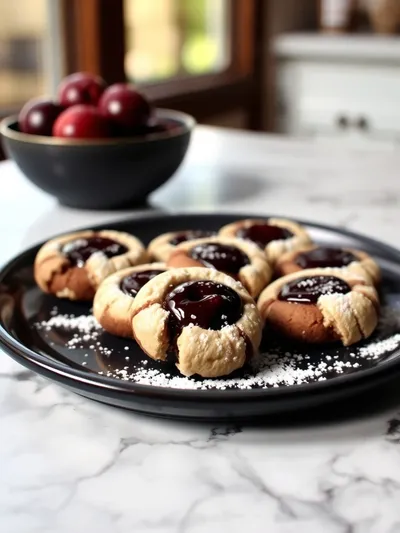
Chocolate Thumbprint Cookies
Imagine a soft, buttery cookie that cradles a sweet jam center—yeah, that’s this chocolate thumbprint cookie. It’s the sort of treat that whispers of comfort and a quiet afternoon in the kitchen, with a hint of cocoa aroma that lingers. I often think of it when I see a marshmallow swirl on a baking tray, and the memory of sweet jam fills my mind.
Timing
Prep Time
20 Minutes
Cook Time
12 Minutes
Total Time
32 Minutes
Recipe Details
Ingredients
Cookie Base
- 01 1 3/4 cups all‑purpose flour
- 02 1/2 cup unsweetened cocoa powder
- 03 1/2 teaspoon salt
- 04 1/2 cup unsalted butter, softened
- 05 3/4 cup brown sugar
- 06 1 large egg
- 07 1 teaspoon vanilla extract
- 08 1 teaspoon lemon zest
Filling
- 01 1/2 cup fruit jam (strawberry, raspberry, or apricot)
- 02 A pinch of flaky sea salt for garnish
Instructions
Preheat the oven to 350°F (175°C) and line two baking sheets with parchment paper.
In a bowl, whisk together flour, cocoa powder, and salt; set aside.
In a separate bowl, cream the softened butter with brown sugar until light and fluffy, about 2‑3 minutes.
Add the egg, vanilla, and lemon zest to the butter mixture; beat until well combined.
Gradually mix in the dry ingredients just until a soft dough forms; avoid over‑mixing.
Chill the dough for 30 minutes; this helps it hold its shape.
Roll the dough into 1‑inch balls, place on the prepared sheets, and gently press a small well in the center of each.
Spoon about 1/2 teaspoon of jam into each well, then sprinkle a tiny pinch of sea salt on top.
Bake for 10‑12 minutes, until the edges are set but the centers still look soft.
Allow the cookies to cool on the sheet for 5 minutes, then transfer to a wire rack to cool completely.
Notes & Tips
- 1 If the jam is very thick, warm it slightly for easier spreading.
- 2 For a richer flavor, add a tablespoon of espresso powder to the dry mix.
- 3 These cookies can be frozen after baking; re‑heat briefly before serving.
Tools You'll Need
-
Mixing bowls
-
Wooden spoon or electric mixer
-
Measuring cups and spoons
-
Sieve for cocoa and flour
-
Baking sheets
-
Parchment paper
Must-Know Tips
- Don't overcrowd the pan; bake in batches for even browning.
- Let the cookies rest after baking; they continue to set as they cool.
- Taste the jam before adding; you may want to thin it with a splash of water.
Professional Secrets
- Room temperature butter creates a smoother dough.
- Chilling the dough prevents excessive spread.
- A light dusting of cocoa on top adds visual depth.

Recipe by
Sophia BennettSophia Bennett represents the artistic heart of sweet baking with her elegant cakes, delicate pastries, and celebration desserts. She enjoys crafting ...
Get Delicious Recipes Weekly
Join 25,000+ home cooks getting our best recipes straight to their inbox.
Free forever • No spam • Unsubscribe anytime