Why You'll Love It
- - Perfectly portioned for easy serving
- - Warm apple aroma that fills the room
- - Creamy cheese filling that melts in your mouth
- - Simple crust that stays buttery and crisp
*These mini cheesecakes are simply divine—comforting and elegant at the same time.*
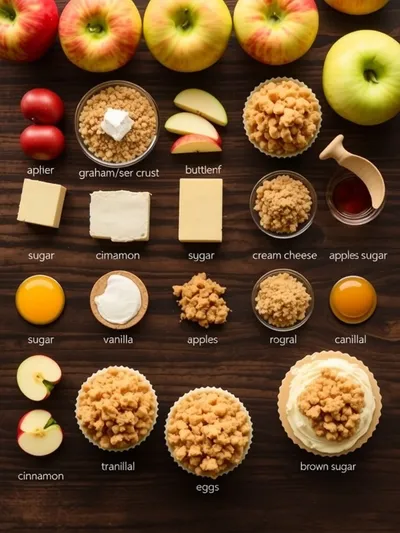
Essential Ingredient Guide
- Cream cheese: Choose a full‑fat block for richness; let it soften to room temperature before mixing.
- Apples (Granny Smith or Honeycrisp): Core and slice thinly; they keep a gentle tartness that balances the sweet topping.
- Rolled oats: Add a rustic crunch; toasted lightly before mixing for deeper flavor.
- Brown sugar and cinnamon: Combine for a warm spice that enhances the apple’s natural sweetness.
- Lemon juice: A splash prevents the apples from browning and lifts the overall brightness.
- Vanilla extract: A few drops round out the flavor of the cream cheese filling.
Complete Cooking Process
-
Ingredient Readiness:
Soften the cream cheese, grate the butter, and slice the apples before heating the oven.
-
Flavor Development:
Toast the oat‑brown‑sugar mixture until caramel‑gold, then fold in butter for a fragrant crust.
-
Texture Control:
Press the crust into mini tins, ensuring an even layer that won’t sog.
-
Finishing Touches:
After baking, let the mini cheesecakes cool slightly, then drizzle a light honey glaze if desired.
-
Serving Timing:
Serve warm or at room temperature; the flavors harmonize best within two hours of baking.
- Use a food processor for the crust to avoid clumps.
- Blind‑bake the crust for 5 minutes before adding filling.
- Cool the cheesecake filling before spooning to prevent cracking.
- Store leftovers in an airtight container; they stay fresh for three days.
Pro Tips
Well, those little tricks keep the mini cheesecakes from turning soggy and help the flavors shine. I find that letting the crust set for a minute after pressing makes it easier to lift the tins without breaking. Also, a gentle dusting of powdered sugar adds a final touch that looks lovely on the plate.
The essence of the dish:
A fun fact or historical angle:
Flavor or sensory focus:
You Must Know
- Cool the crust before filling
- Don’t over‑mix the cheese batter
- Add lemon juice to keep apples bright
Frequently Asked Questions
→ Can I use a gluten‑free crust?
Yes, substitute the rolled oats with gluten‑free oat flour and use a gluten‑free flour blend for the crust base.
→ How long can I store them?
Keep the cooled cheesecakes in the refrigerator, covered, for up to three days. They taste best the first two days.
→ Can I freeze the mini cheesecakes?
Absolutely. Freeze after they’ve cooled, then reheat gently in a 300°F oven for 5‑7 minutes before serving.
→ What apples work best?
A mix of tart Granny Smith and sweet Honeycrisp gives a balanced flavor and nice texture.
→ Do I need to add extra butter to the topping?
The recipe already includes butter for the crisp; adding more can make it too greasy.
→ Can I make them without a springform pan?
Yes, regular mini muffin tins work fine; just grease them lightly or use paper liners.
Chef's Tips
For an extra glossy finish, brush the apple topping with a light honey glaze right after baking.,If you prefer a less sweet crust, reduce the brown sugar to 2 tbsp.,A pinch of nutmeg in the apple mixture adds a warm undertone.
Nutrition Facts
per serving
210
Calories
4g
Protein
22g
Carbs
12g
Fat
Taste Profile
Warm, sweet‑tart with creamy richness
Ingredient Substitutions
Don't have an ingredient? Try these alternatives
Provides a lighter texture; keep the same amount.
Use 2 tbsp maple syrup; reduce butter slightly.
Recipe Variations
Try these delicious twists on the original
Spicy Version
Add a pinch of cayenne and a drizzle of sriracha to the apple topping for a gentle kick.
Mediterranean Style
Stir in crumbled feta and toasted pine nuts into the crust, and use thinly sliced figs instead of apples.
Common Mistakes to Avoid
Learn from others' mistakes for perfect results
- Skipping the blind‑bake leads to soggy crusts.
- Over‑mixing the cheese filling causes cracks.
- Adding the apple topping too early can burn the sugars.
Meal Prep & Storage
Make Ahead Tips
You can prepare the crust and topping layers up to a day ahead; store them separately in airtight containers and assemble before baking.
Leftover Ideas
Reheat gently in a 300°F oven for 5 minutes; they stay moist and the crust stays crisp.
Perfect Pairings
Serve this with...
Cooking Timeline
Prepare crust mixture, press into mini tins, and blind‑bake.
Mix cream cheese filling and spoon over crusts.
Add apple topping and bake until golden.
Cool in pan, then transfer to wire rack.
Serve or store; enjoy the comforting aroma.
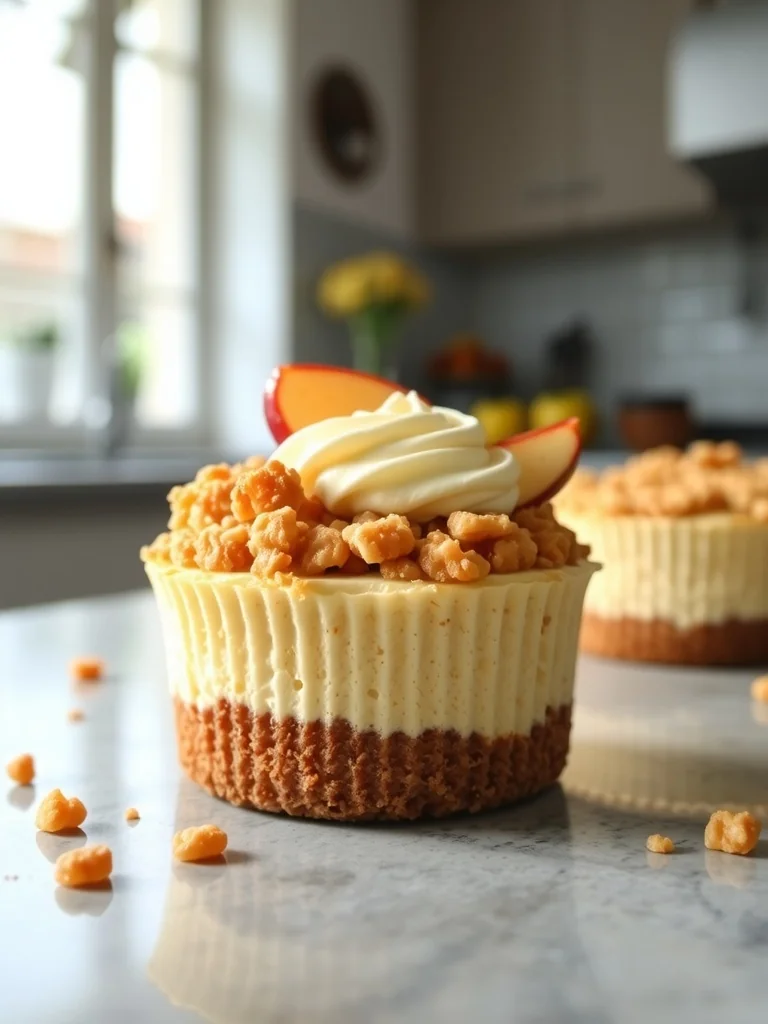
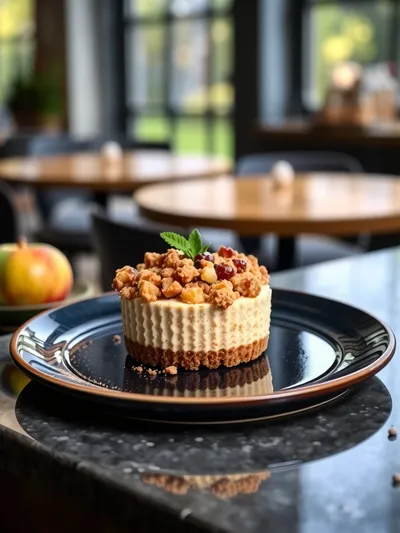
Apple Crisp Mini Cheesecakes
Golden pastry shells cradle a silky cream cheese filling, topped with tender apple slices that turn to a sweet, buttery crisp. Each bite feels like a warm hug on a cool afternoon, perfect for sharing or savoring alone.
Timing
Prep Time
20 Minutes
Cook Time
25 Minutes
Total Time
45 Minutes
Recipe Details
Ingredients
Crust
- 01 1 cup rolled oats
- 02 1/4 cup brown sugar
- 03 1/2 cup unsalted butter, melted
- 04 1/4 tsp cinnamon
Filling
- 01 8 oz cream cheese, softened
- 02 1/4 cup granulated sugar
- 03 1 egg
- 04 1 tsp vanilla extract
- 05 2 tbsp sour cream
Apple Crisp Topping
- 01 2 cups apples, peeled and thinly sliced
- 02 2 tbsp brown sugar
- 03 1 tsp cinnamon
- 04 1 tbsp melted butter
- 05 1 tsp lemon juice
Instructions
Preheat the oven to 350°F (175°C). Grease a 12‑cup mini muffin tin or line with paper liners.
Combine oats, brown sugar, cinnamon, and melted butter in a bowl; stir until the mixture resembles coarse crumbs.
Press about 1 tablespoon of the crust mixture into each cup, creating an even base.
Bake the crusts for 5‑7 minutes, just until set. Remove and let cool slightly.
In a mixer, blend softened cream cheese and sugar until smooth; add egg, vanilla, and sour cream, mixing gently.
Spoon the cheesecake filling over each crust, filling each cup about three‑quarters full.
Toss sliced apples with lemon juice, brown sugar, cinnamon, and melted butter; distribute evenly atop each cheesecake.
Bake for 18‑20 minutes, until the edges are set and the apple topping is golden and bubbly.
Allow the mini cheesecakes to cool in the pan for 10 minutes, then transfer to a wire rack to cool completely.
Notes & Tips
- 1 For an extra glossy finish, brush the apple topping with a light honey glaze right after baking.
- 2 If you prefer a less sweet crust, reduce the brown sugar to 2 tbsp.
- 3 A pinch of nutmeg in the apple mixture adds a warm undertone.
Tools You'll Need
-
Mini muffin tin
-
Mixing bowls
-
Hand mixer or whisk
-
Spatula
-
Measuring cups and spoons
Must-Know Tips
- Don’t over‑mix the cream cheese filling; it can cause cracks.
- Press the crust firmly to avoid gaps that let filling seep.
- Cool the mini cheesecakes before unmolding to keep shapes intact.
Professional Secrets
- Room temperature butter creates a tender crust.
- Blind‑baking the crust prevents soggy bottoms.
- Allow the filling to rest before baking for a smoother texture.

Recipe by
Sophia BennettSophia Bennett represents the artistic heart of sweet baking with her elegant cakes, delicate pastries, and celebration desserts. She enjoys crafting ...
Get Delicious Recipes Weekly
Join 25,000+ home cooks getting our best recipes straight to their inbox.
Free forever • No spam • Unsubscribe anytime